There are very few things I eat every day, without fail. Sauerkraut is one of those things.
I’m not sure how my love for sauerkraut developed. I was certainly not a fan when I was young. But it was one of those paleo things people were always talking about, so I figured why not give it another shot.
I’ve only experienced major food FOMO a few times in my life. Figs, cashew butter, okra, and sardines topped that list for a long time. That was until I tried sauerkraut.
I spent months trying every brand from every store, in an attempt to find the best sauerkraut around. And let me tell you, there are some good krauts out there. For a classic kraut, Bubbies is the best you can buy at the store. It’s not too “kraut-y” and would be a great place to start if you’re not yet into fermented foods. Wild Brine and Farmhouse Culture are other favorites of mine – mostly because they have so many interesting flavors. I mean, Wild Brine has fermented salsa. Sign me up!
Unfortunately, sustaining a store-bought sauerkraut habit is expensive. So, when I was last in Colorado, my dad showed me his fermentation set up and I was obsessed. His ferments were even better than my beloved Bubbies and I’ve had my heart set on homemade kraut ever since.
I have to say, I was a little nervous the first few times I made my own sauerkraut. I don’t know why. It’s easier to make than the boxed risotto I ate in college. Nonetheless, I called my dad every step of the way. Especially during the massaging stage. I mean, spending my Saturday night massaging cabbage doesn’t quite feel right. Give it a few weeks – it’ll be so worth it.

Excitement isn’t my natural state, so when I say I was excited to open up my mason jar three weeks later, I mean it. In fact, I was so excited I opened it a week early. I don’t recommend doing that. I mean, it was good, don’t get me wrong. But ferments get better with a little extra time and I consider three weeks the minimum for sauerkraut.

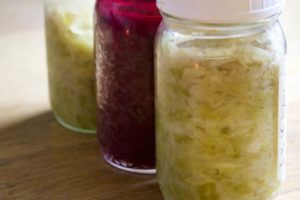
The first time I made kraut, I just used a mason jar and standard lid. That totally works, but if you’re serious about making good kraut, invest in some fermentation lids. They’re game-changers. I can now have 4-5 batches going at once, without blinking an eye. Here are the ones I use and love.
If you’re not convinced by the ease of making your own sauerkraut, let me share some nutritional benefits that might sway your decision.
Probiotics. I couldn’t kick off a conversation about the benefits of fermentation with anything but probiotics, right? Probiotics are formed in the jar via lactic acid fermentation. When packed into an air-tight container, the lactobacillus bacteria break the sugars from the cabbage down into lactic acid, thus preserving the food and creating the lactobacillus probiotic strains. These little guys go on to populate our gut (transiently), thus improving irregular digestion, nutrient absorption, immune function, inflammation, and more! I’m not saying that a few bites of kraut will cure life’s biggest problems, but it might. (1, 3)
Vitamin C. Seems weird right? Don’t we get Vitamin C from orange juice? The short answer is no, on so many levels. Kraut is a good source of this important micronutrient and is actually how people back in the day would prevent scurvy! Vitamin C is an important antioxidant that plays a major role in our immune system. (2)
Vitamin K. This is a vitamin we don’t talk a lot about, but it’s really important. It’s known for it’s necessary role in blood clotting, but is also important for bone health and improving the efficacy of Vitamin D. This is a rabbit hole I won’t go down here, because it’s ultra complicated. But be on the lookout for an upcoming Micronutrient Monday post on Vitamin K! Regarding sauerkraut, one serving of kraut contains about 25% of your daily Vitamin K needs, so not a lot. But better than nothing, you feel? Eat some liver for the rest. (3)
Ok that’s enough, let’s make some kraut!

READ NEXT: How to Make Dairy-Free Fennel Pesto

| Prep Time | 20 min |
| Cook Time | 2 weeks |
| Passive Time | 2 weeks |
| Servings |
servings
|
- 1 medium head of cabbage green or purple
- 1 Tbsp pink himalayan salt or other high quality sea salt (NOT Morton's)
Ingredients
|

|
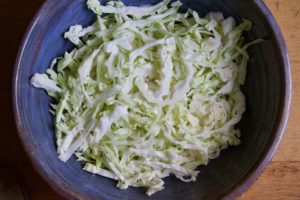
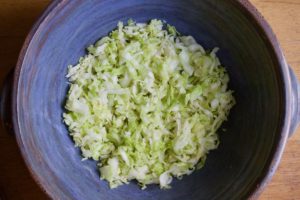
- Chop cabbage into long strips by first cutting in half. Cut out the thick stem from inside each half. Lay both halves face down on a chopping board and cut strips from there.
- Place all strips in a large bowl and cover with 1 Tbsp pink himalayan salt or high quality sea salt. Let sit for 20-30 minutes. In this time, the water from the cabbage will start to release and you'll notice your strips will become moist.
- Get in there with your hands and begin to squeeze and massage the cabbage. Even more water will come out. Repeat this process for 15 minutes, or until there's a small pool of water at the bottom of your bowl.
- Start transferring the cabbage into a large mason jar, about 1 inch deep at a time. Every inch of cabbage you transfer, use a rubber spatula (or kitchen tool of choice) to pack in down. You don't want any air bubbles in there.
- Once it's all been transferred over, there should be a layer of liquid at the top. That's good! Now add your weight on top of the kraut, to keep it packed down.
- Put on your kraut lid, as pictured, and save a little water from the bowl to fill the lid half way.
- Place the mason jar on a shelf in your pantry, out of direct sunlight or cold/heat. Kraut likes to ferment at room temperature.
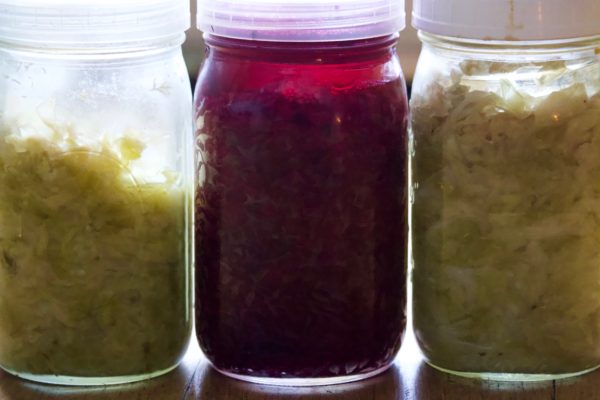
- Leave to ferment for a minimum of 2 weeks. I have yet to find a maximum time to ferment kraut and it only gets better with time! You may notice some liquid will overflow from the lid leave the top extra salty. That's normal and ok. Just make sure to wash before your next batch 😉
You can add in pretty much any vegetable or herb to adjust the flavor to your liking. My favorite additions are garlic/dill or carrot/onion/jalapeño!